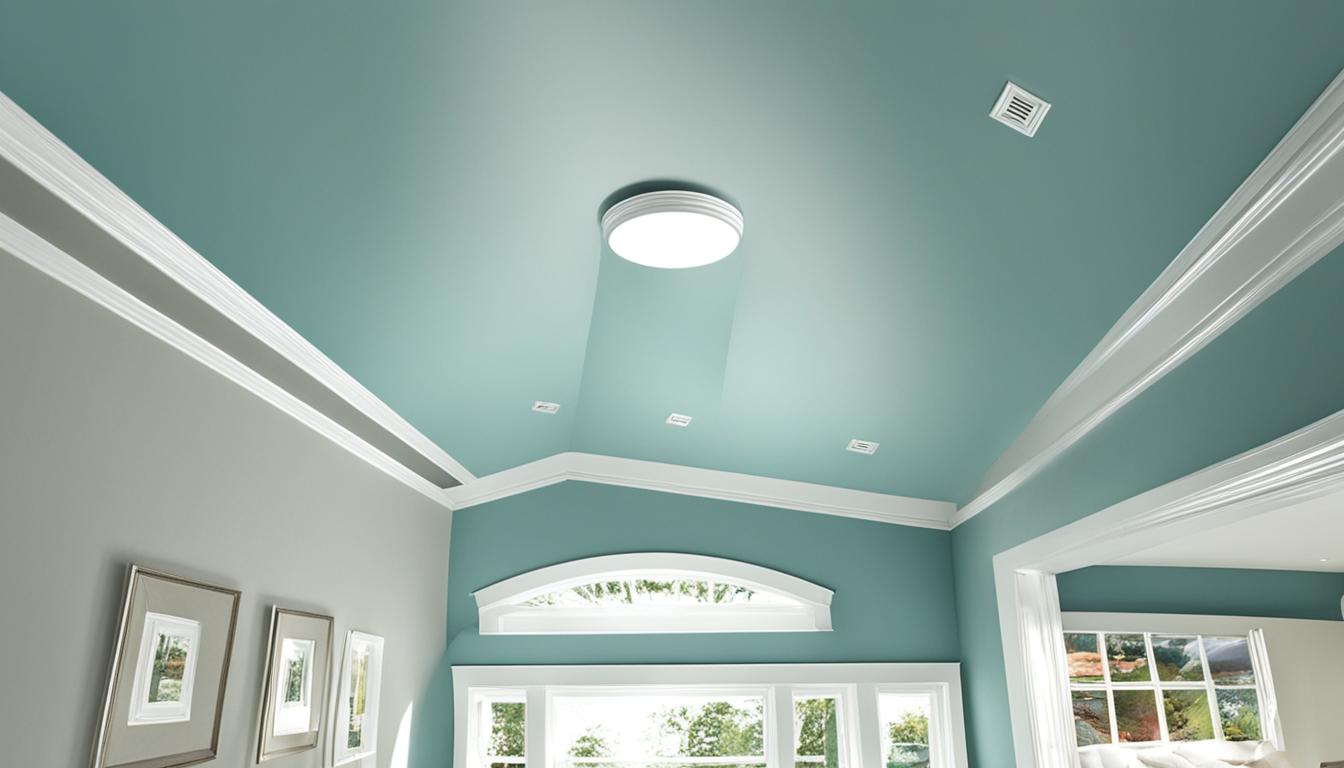
Welcome to my guide on painting ceilings well. I own Pro Painters in Salt Lake City. I love to share ceiling painting tips and tricks. Painting a ceiling can seem hard. But with the right methods and materials, you can get a smooth finish. This finish will make your walls and frames look great. Let’s avoid the trouble of uneven ceilings. I’ll share strategies from my experience and tips from Home Depot, Dulux, and Handyman. No matter your ceiling type, I will guide you to an impressive result.
- Gain insight into professional painting techniques backed by years of experience.
- Learn specific ceiling painting tips that simplify the painting process.
- Understand the impact of high-quality materials on achieving a flawless interior painting result.
- Discover the importance of prep work from reliable industry sources.
- Find out how to manage common ceiling painting challenges for both textured and flat surfaces.
- Embrace a stress-free approach to painting, leading to a beautiful and coherent home aesthetic.
Preparing Your Space for Ceiling Painting
Getting ready for a painting job is key, especially for interior painting preparation. To start, remove all furniture from the room. If moving everything is too difficult, cover them well with drop cloths. Ensure these cloths overlap by 12 inches to keep your furniture safe.
Always turn off the power before you begin to paint. Then, carefully take down any ceiling lights. Keep all screws and small parts in a bag so you don’t lose them. A helpful tip: use drop cloths that have rubber backs. These are better than plastic because they stick to the floor well and soak up extra paint.
Jeff Winters from Sherwin-Williams stresses the importance of the right drop cloth. He says, “Choose canvas cloths with a rubber back over plain plastic to reduce paint mess.” Setting up your space carefully makes painting easier and the results look more professional.
The Importance of Surface Preparation
For a ceiling painting project to work well, start with good ceiling surface prep. It’s about cleaning for paint adhesion, which means getting rid of dust, cobwebs, and mildew signs. Before you paint, the ceiling must be clean.
Begin with a sugar soap solution to clean the surface well. Then, sand the ceilings with 100-grit sandpaper. This not only cleans but also makes the perfect texture for paint to stick better.
Don’t forget to wipe the ceiling with a wet sponge after sanding. This removes leftover dust that could stop the paint from sticking well. A clean, ready surface means your paint job will look smoother and last longer.
Having your ceiling perfectly ready before you start painting is very important. Good cleaning for paint adhesion and sanding ceilings affects how it looks later. It also decides how long and well your ceiling keeps looking good.
Interior Painting: Selecting the Right Primer
Choosing the right primer is about more than covering old paint. It’s key for a good paint job. It helps when you have ceiling problems, like leaks or smoke stains. Just using regular paint won’t cover or block stains well.
Stain-blocking primers are my top pick for a clean look. They can be oil-based or shellac-based. They seal off stains so they don’t peek through your final paint layer. This is very useful in old homes with lots of stains.
Jeff Winters from Sherwin-Williams notes, “Using the right type of primer can dramatically affect the look and durability of your ceiling paint, especially where there are issues like dark stains or bold color choices.”
Gray-shaded primer is great for bold colors, like deep blues or reds. This idea came from car painting. A gray primer cuts down on the number of layers needed. This saves time and money, giving you beautiful colors.
Here’s a quick guide to choosing the right ceiling primer selection based on your needs.
| Type of Primer | Benefits | Recommended Use |
|---|---|---|
| Oil-Based | Excellent stain blocking | For nicotine or water stains |
| Shellac-Based | Superior adhesion | For heavy-duty stain blocking |
| Latex-Based | Flexible and fast drying | For general priming needs |
| Gray-Shaded | Reduces layers needed for bold colors | When applying deep colors |
Good priming fixes irregularities and makes a great base for the final layer. Using a top primer and applying it well sets up a perfect, lasting ceiling.
Innovative Techniques for a Smooth Application
Learning how to paint ceilings well takes skill and practice. But, with the right steps, you can get a smooth paint application. Sherwin-Williams shares a method to help you avoid lap marks. This will give you a perfect finish every time.
First, they suggest painting in 4×4 foot parts. This helps keep a “wet edge,” which is important for an even coat. Breaking the space down into small parts makes sure the paint joins well. This happens before the paint dries, so you don’t see lap marks.
When using rollers, start at one corner of your ceiling. Roll in lines that overlap, going toward the other side. It’s key to change the direction a bit each time. This way, the paint blends in well and you won’t see marks. Be quick but smooth, letting the roller do the work. This will make sure each part blends with the last.
By following these ceiling painting techniques, you’ll make your ceiling look great. Plus, the paint job will last long and look good. The aim is to be steady and keep the paint wet as you go. This lessens the chance of flaws and makes your ceiling look like a pro did it.
This careful and exact way of painting is how to get a ceiling that wows guests.
Choosing Quality Paints and Tools
Choosing the right high-quality ceiling paint and professional painting tools is key. Ceiling-specific paints reduce splatters and dry slower. This gives a smooth finish. These paints usually have a flat look that hides flaws better than shiny paints.
For great ceiling painting, you need more than just good paint. A strong ladder, an extension pole, a fine brush, and good tape are my go-to tools. These help reach high places and keep edges neat.
| Tool | Description | Importance in Ceiling Painting |
|---|---|---|
| Ladder | Sturdy, appropriate height | Ensures safe reach |
| Extension Pole | Extendable up to 18 feet | Increases reach without frequent repositioning |
| Paintbrush | Fine bristles, angled for precision | Helps in detailed work around edges |
| Painter’s Tape | Strong adhesive, easy removal | Protects against paint bleeds |
| Ceiling Paint | Flat finish, minimal spatter | Hides imperfections, easier application |
Getting these tools and the right paint sets you up for success. Good tools and paint are not just costs. They are an investment in your home’s ceilings, making them look better for longer.
Maintaining A Clean Workspace
Keeping my workspace tidy is key for good work and great results. I follow certain steps to clean up well after painting. This keeps my workspace great for painting.
I use plastic bags for small items like fixtures. This keeps them from getting lost. I also use tape to hold down drop cloths. This protects floors and furniture from paint.
Cleaning up fast is important. I wash brushes, rollers, and trays right away. I use warm soapy water and let them dry outside. This makes them last longer and ready for next time.
I remove painter’s tape when the paint is slightly dry. This stops damage to the new paint. It also makes the edges look sharp and professional.
These steps help keep my space not just clean, but ready for any painting job.
Conclusion
I hope this guide has made you ready to start painting your ceiling. Seeing your ceiling as the ‘fifth wall’ is key to a top-notch result. You can paint your ceiling by yourself or get expert painters to help.
If painting rough surfaces or high ceilings seems hard, you’re not alone. Skilled ceiling painting needs care and attention. If you’re short on time, Pro Painters of Salt Lake City can help. They have the skills to make sure your home looks great.
Using the tips and ideas from this guide will help you enjoy a great ceiling. It’s not just paint. It’s about making your space look and feel better. So get ready, pick up your painting supplies, and enjoy the results of your hard work.
FAQ
What are some essential tips for flawless interior painting, specifically for ceilings?
First, start with a clean surface for the best results. Then, pick high-quality primers and paints.
Use the ‘wet edge’ technique to avoid marks. Also, make sure your tools, like rollers and brushes, are top-notch.
How should I prepare my space before starting the ceiling painting process?
Getting your space ready is crucial. Begin by clearing out the room. Cover any furniture left with cloths.
Make your work area safe. Do this by turning off the power and taking down ceiling fixtures.
Why is ceiling surface prep so important before painting?
Clean and sand the ceiling first. This helps the paint stick well and makes the base smooth.
It reduces the chance of seeing flaws in the end result.
How do I choose the right primer for my ceiling painting project?
Pick your ceiling primer based on your ceiling’s condition. For water or smoke stains, use stain-blocking primers.
Choose the right shade of primer. It helps reduce the need for many topcoats if the ceiling color is bold.
Can you share innovative techniques for a smooth paint application on ceilings?
Try painting ceilings in small sections, like 4×4 feet. This keeps the edge wet.
It helps the paint go on smoothly and stops marks from showing.
What should I consider when selecting paints and tools for painting my ceiling?
Look for ceiling paint that is of high quality. It should not spatter much and give a flat look.
Invest in a good ladder, rollers, an extension pole, and a paintbrush for a pro finish.
How do I maintain a clean workspace while painting my ceiling?
Organize your space by fixing drop cloths in place. Keep hardware in bags with labels. Clean tools with soapy water right away.
A tidy space is key for a professional paint job.
As a newbie, should I attempt DIY ceiling painting or hire a professional?
If you’re not confident, especially with tricky ceilings, get professional help. They have the know-how for a top-notch finish.